Recently I’ve taken the time to scan some slides that my folks have. I’ve always been fascinated with them, especially as we deal with so many pictures on a daily basis. These were printed out, and in a format that required a special machine, where you all sit around and watch – for better or worse. For some reason, I’ve found this very fun and I figured I’d give a little “how-to” for anyone that was curious as how I went about it, along with a few before/afters.
Here is a picture of my setup (ignore stuff in the background, I was outside until I got too cold).
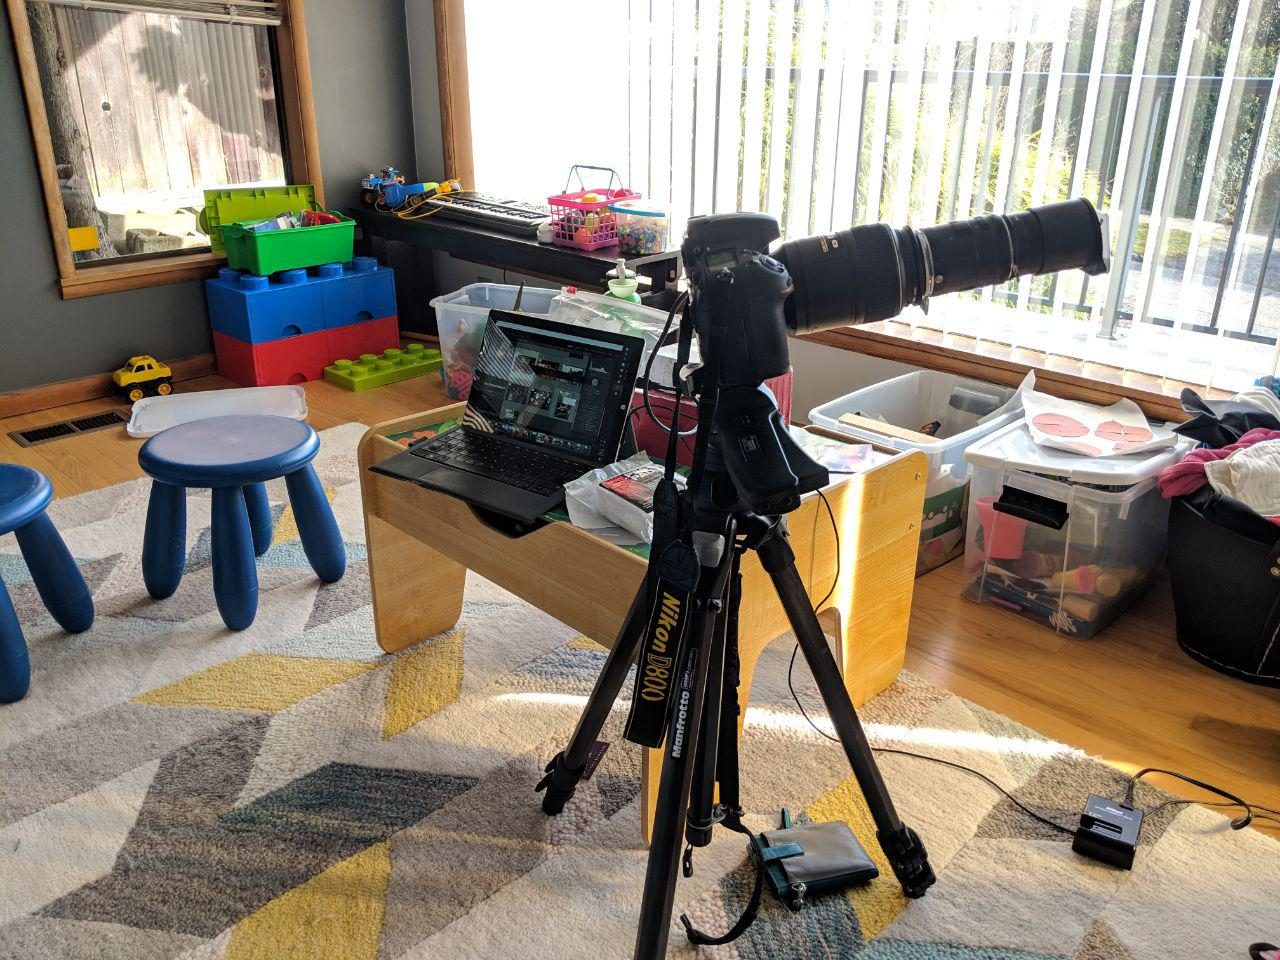
The equipment I’m using:
- Nikon D800 w/ 5 stop bracketing at 1EV each stop (-2 to +2)
- 105mm f/2.8G ED-IF AF-S VR Micro-Nikkor
- Manfrotto 322RC2 Ball Head
- Manfrotto 055MF3 Tripod
- Super cheap eBay Manual Macro Lens Extension Tube Ring
- Nikon BR-5 mount ring 62mm
- Nikon BR2A lens reversing ring 52mm
- Nikon BR-3 52mm Mount Adapter ring
- Nikon Slide Copy Adapter ES-1 52mm
- Lightroom tethered to camera
- HDR Efex Pro 2
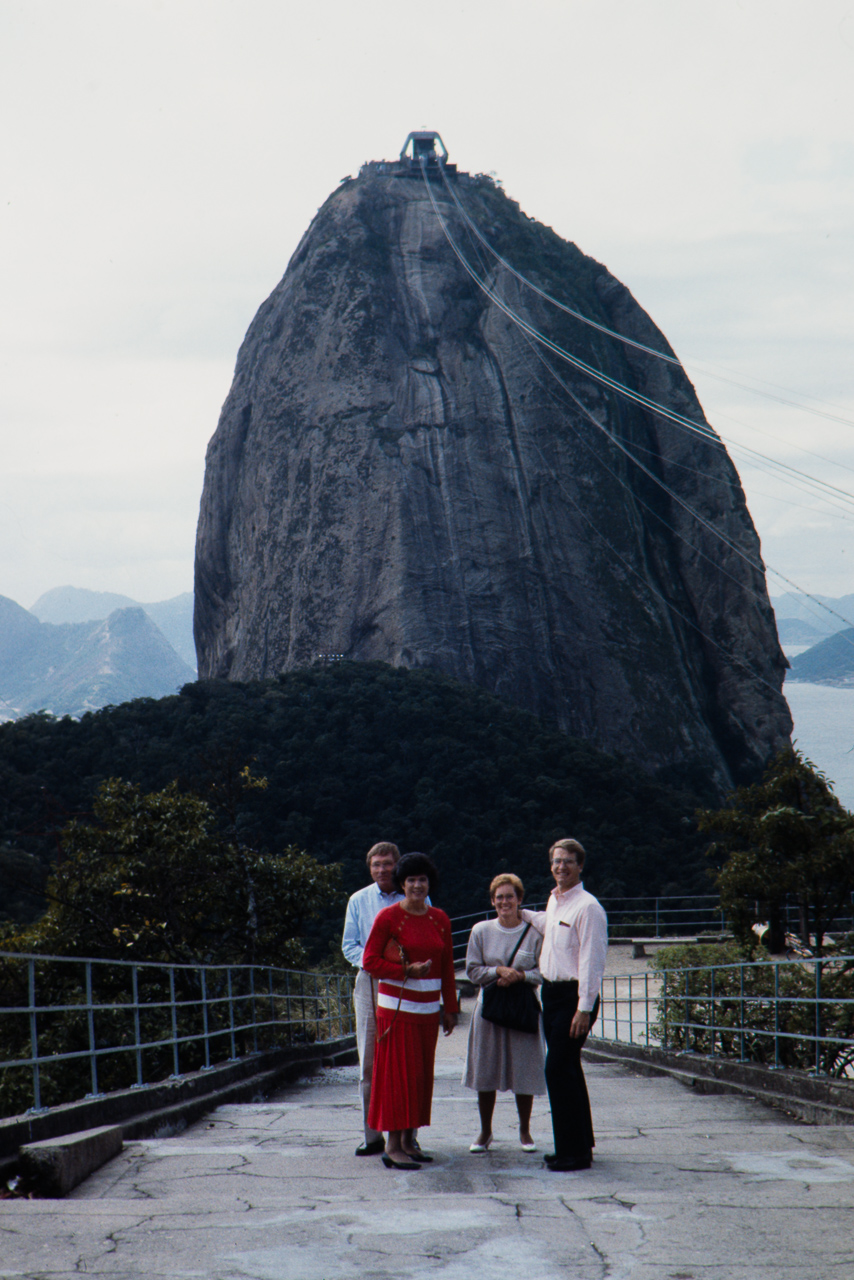
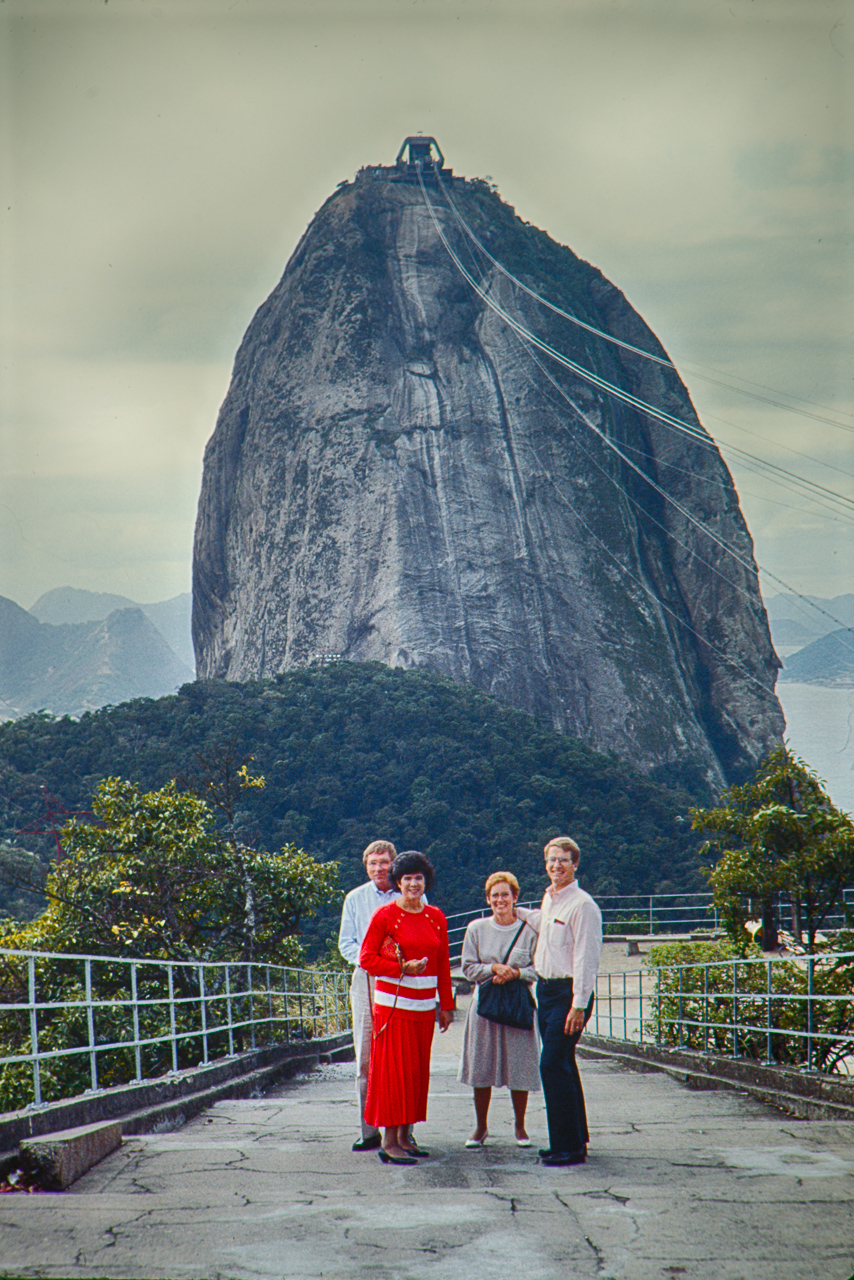
I set the camera to bracketed exposure – 5 shots from -2EV to +2EV. I then tether the camera to lightroom, and quickly fire off the 5 shots (I tether so that I’m not touching the camera and so I can better see the output on screen). In lightroom I stack the images, properly set a realistic date, and then export to HDR Efex Pro 2 to combine all 5 images together. Depending on the type of shot, I select different settings. As you can see from below, it makes a pretty big difference.
One I have the final image, I color correct it, based on the slide type and color cast. For example, Kodachrome has a distinctive blue tint to it which should be corrected. And tada!
